
Does fussy cutting strike fear in your crafters’ heart? Fear not, I have tips for you. Sometimes I see a stamp set that I love and then discover there is no matching die set. What do you do when that happens? I love a good one-layer card, but it’s nice to add multiple layers and depth to a card. I also don’t mind fussy cutting and have learned to do it effectively. Here are some examples using the super cute Thoughtful Octopus stamp set.
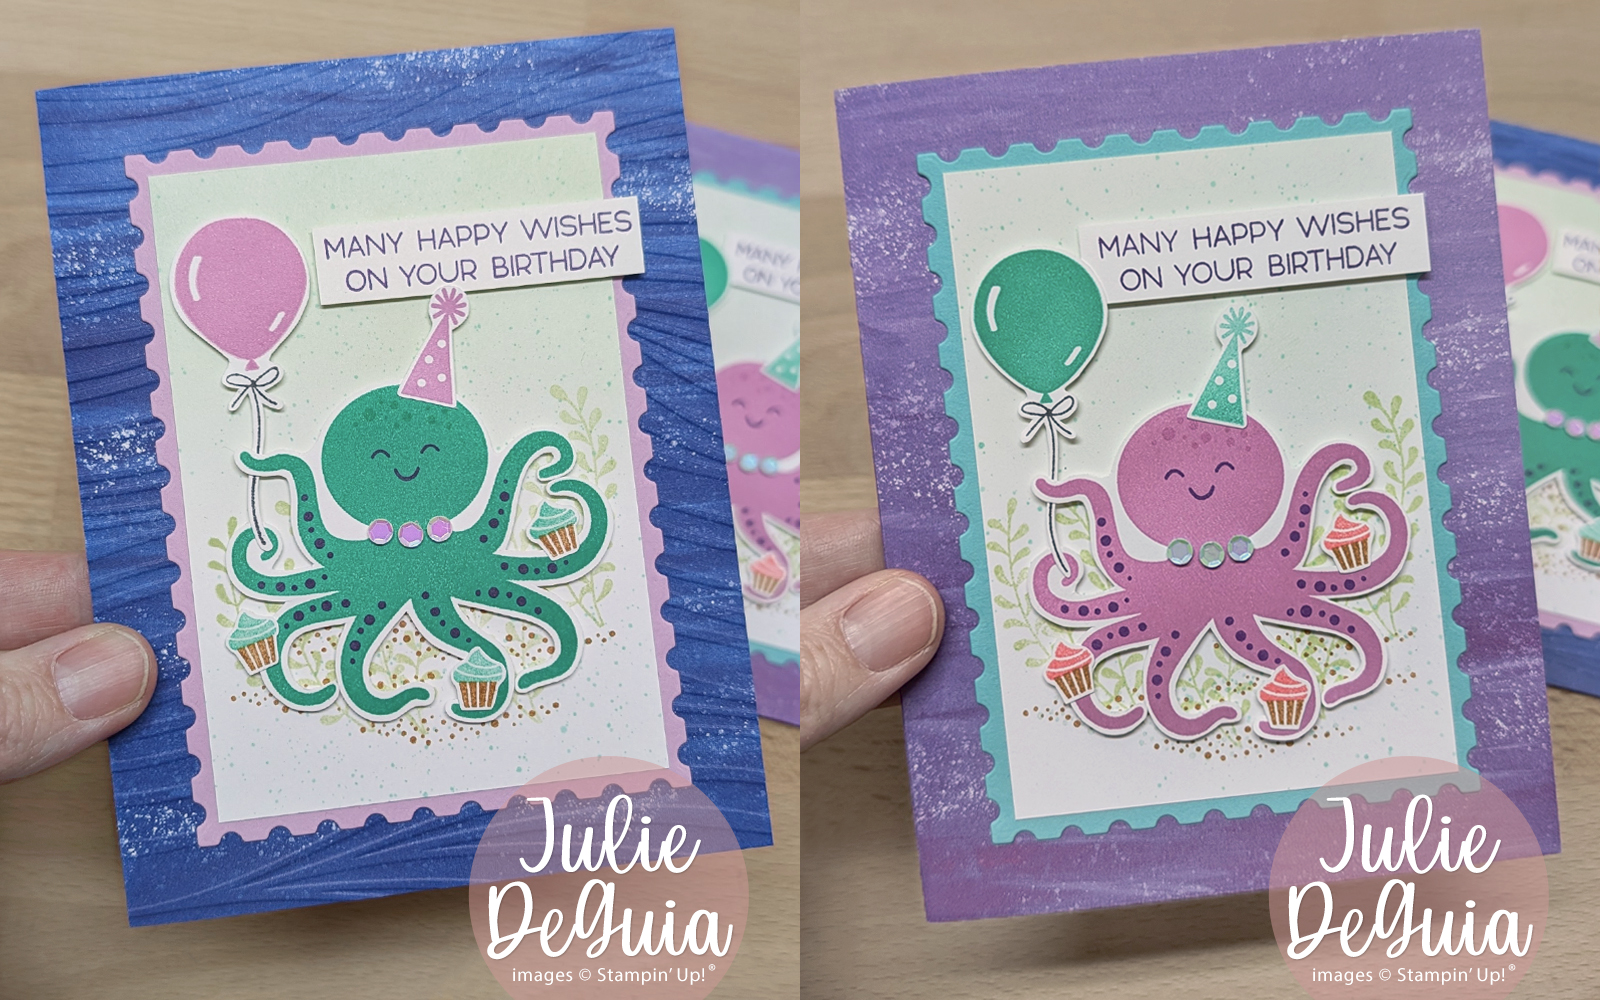
Before we get into the tips, I have to say that my favorite thing on these cards are the shiny necklaces I added. Did you know octopi wore necklaces? Neither did I until I went to place the Sunset Sparkle Sequins and didn’t like anywhere I placed them on the card. When I moved them to the neck, it was perfect. And the color of the sequins pick up the purple and blue in each card perfectly.
Top Tips for Great Fussy Cutting Results
The octopus in this set is fairly complicated as fussy cutting goes. There are a lot of concave curves, which in my opinion are the harder ones to cut. And the uppermost tentacle on the right has a very tight curve. Here are my top tips for getting great results, even on tricky images.
- After stamping the image you want to fussy cut, trim the cardstock down around the image. Excess cardstock will get in the way of your fingers and the scissors and make it harder to turn the paper as you are cutting.
- Make sure your scissors are sharp. Our new Details scissors are perfect for the job. Some crafters like to keep multiple sets for different purposes. Fussy cutting does not work as well with scissors that are used to cut Dimensionals or other adhesive. Same with ribbon. I was crafting with a friend recently and asked if a certain pair of scissors were okay to use. She said as long as they weren’t her ribbon scissors it was fine! 😂
- A bright light makes a world of difference when fussy cutting. You could keep an extra small light at your desk that you pull in close when you need it. I also find I need to turn on an extra light when I’m positioning dies at my cutting machine. Anything that needs a little extra precision needs a little extra light!
- Can you see where you need to cut? If you are not seeing the edge of the stamped image clearly, maybe you need to grab a pair of reading glasses or a magnifying glass. Bonus, I have seen some magnifying glasses that have a light built in.
- When you are ready to cut, make sure you are moving the paper, not the scissors. Keep the scissors firm in your grip as you are turning the paper. You also want to make sure the paper is towards the back of the scissors, not at the tip. Both of these actions give you a lot more control.
- Take your time! Go slowly as you make your cuts. The turns you have to make are often tight and if you go too fast you will overshoot the curve.
- Fussy cutting is not as precise as a die cut. To hide some of the imperfections, place the cut out pieces on a similarly colored background.
- And finally, card-making is supposed to be fun! If you don’t like fussy cutting, don’t do it. There are plenty of card designs that don’t require this technique that are just as amazing.
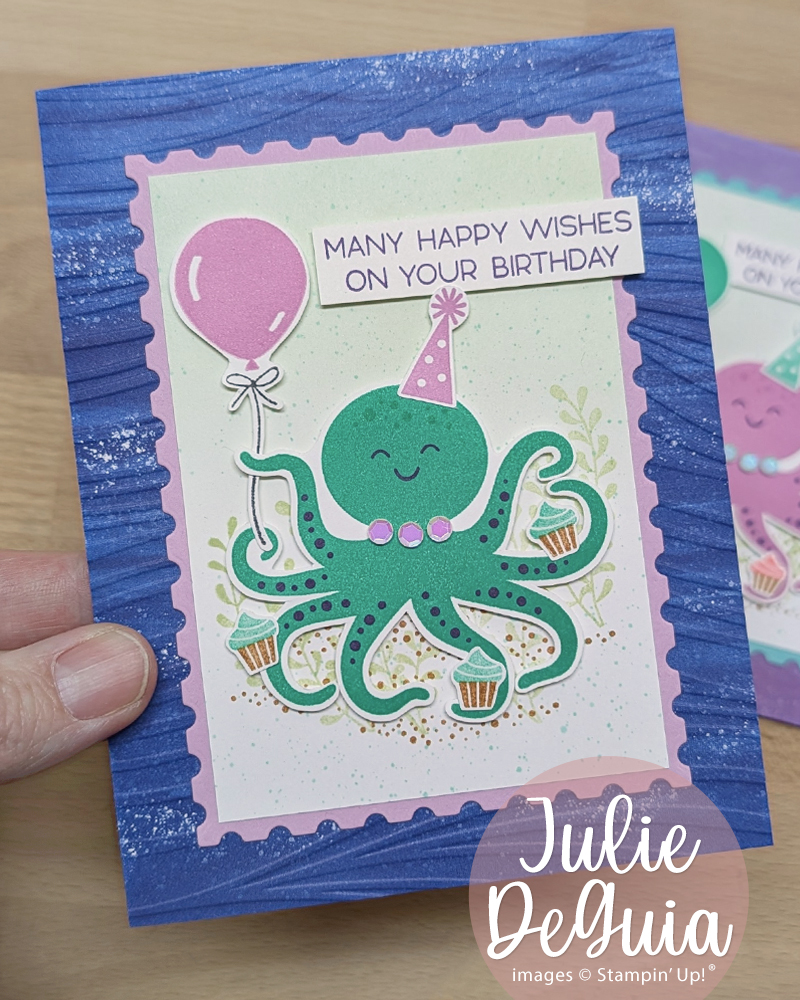
Now that we have covered fussy cutting, I wanted to give you my tip for stamping this cute octopus. Sometimes solid image stamps can create blotchy results. I used my stamp positioner and stamped each octopus on these cards three times. That gave me a nice and smooth result.
I hope these tips have helped. If you have shied away from fussy cutting in the past, I hope you will give it another try.

Leave a Reply